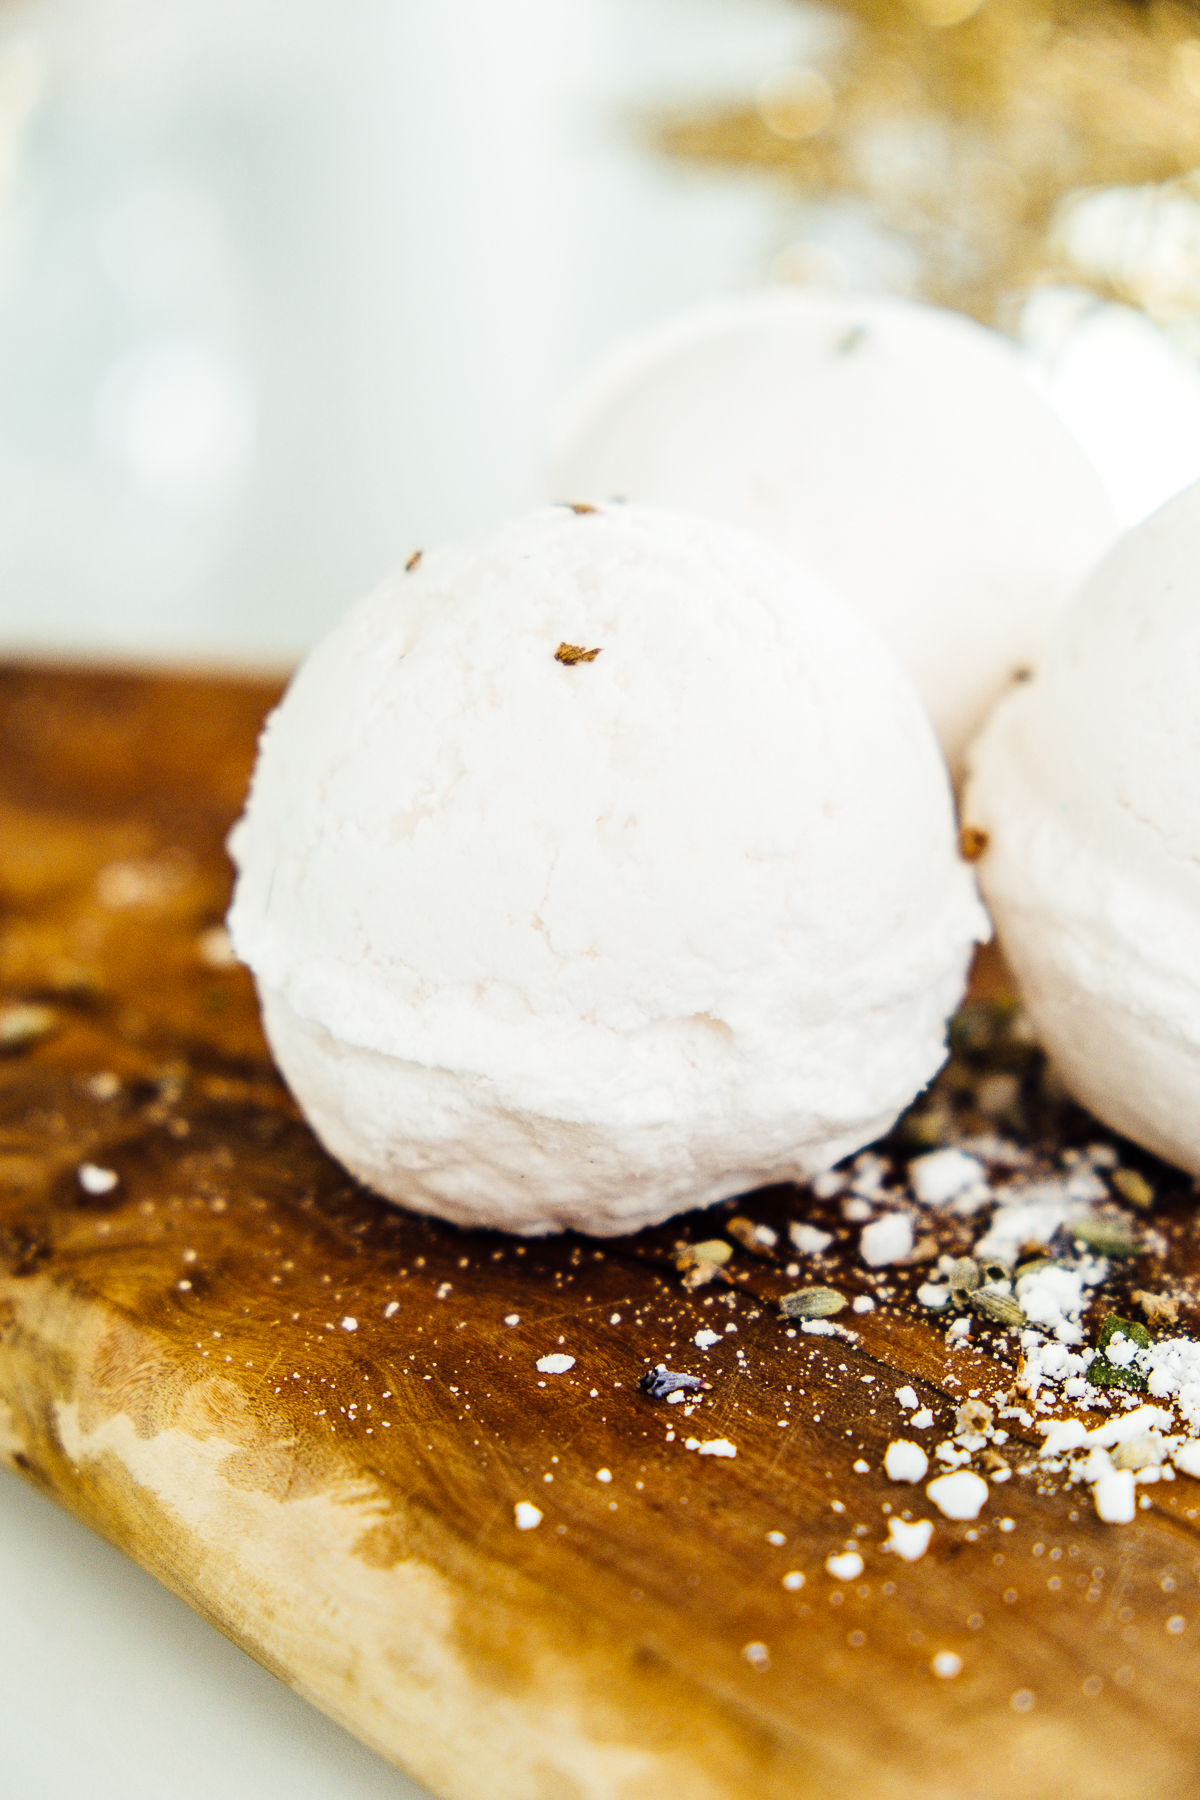
How to Make DIY Bath Bombs


One of my favourite reading spots is in the bathtub. Nothing is better than dropping one of my DIY bath bombs in, grabbing a book or magazine, glass of wine and getting lost in the words for an hour.
I love buying a new bath bomb, but after seeing I could make my own and save money, I started doing that instead. Considering how fast I go through them!
Another great reason to make your own DIY bath bombs, is that you can customize them to your liking, sometimes you find one that’s cute, but the ingredients not so much. And I feel they’re fun to make, who doesn’t like an easy weekend project?

Here’s the easy recipe for my DIY Bath Bombs
Makes 6 (you can easily double recipe if needed)
Ingredients
4 oz. baking soda
2 oz. corn starch
2 oz. citric acid
2 oz. Epsom salt
1 to 1 1/2 teaspoons water
5-10 drops essential oil of choice
1 1/4 teaspoon oil (I like melted coconut or olive oil here)
1-2 drops food coloring (optional)
Instructions
- In a bowl whisk the dry ingredients to make sure no clumps are left.
- In a small glass jar stir together the wet ingredients.
- Slowly pour the wet mixture in with the dry mixture, whisking as you go. If you see any fizzing or foam, you may be adding the wet ingredients too quickly.
- Once all the wet ingredients are combined with the dry, take a small amount in your hand and squeeze it together. You should feel like it’s sticking together fairly well. If not, just add a tiny bit more water and mix.
- Then you can fill each half of your bath bomb mold with the mixture until it’s just over the top of the brim. Press together, then gently remove one side of the mold.
- Place the bath bomb on a tray and allow to dry out before removing the other side. Wait at least 1-2 hours and then see if the bath bomb can easily be removed from the mold without breaking. If it breaks, don’t sweat. Just press into it the mold again and let it dry out longer. You want to get the bath bomb out of the mold so it can dry out overnight. But don’t leave them in the molds overnight, because they can end up sticking.
- Once you are ready to remove the other side, gently invert the bath bomb so the uncovered side is facing down, then gently remove the other half of the mold from the top. If a bath bomb does crack in half while you’re removing it, you can easily press it back on top of the other half.
- Once they are completely out of the mold, allow them to dry out overnight.
- When they are completely dry, you can store in a dry place until you’re ready to use them, or you can gift them to your friends.
You can add other elements such as edible glitter or dried flower buds. Do keep in mind that after using a bath bomb with dried petals, you will have to remove these from your tub. Otherwise your husband won’t be too pleased to find that in the morning when he goes to shower (not speaking from experience or anything LOL).
If you want to create two-tone DIY bath bombs, just mix up your “batter” in separate bowls and add different food colourings to both.
What’s your favourite DIY beauty recipe? Share below! And don’t forget to check out my DIY Gemstone soaps.


These look yummy! I have to give them a try!!